Black Friday savings! Get $50 off any shaft. Use code WINTER50 at checkout.
Written by digital agency on November 7, 2026
5 Putting Drills to Help Make You a Better Golfer
As in so many areas in life, it’s the amount of time you put into something that determines what you will get out of it.
In golf, that equates to time spent actually golfing, time spent strength and mobility training, and of course, time at the driving range and practicing putting.
On that note, there are putting drills you can practice pretty much anywhere that can help you focus on face control, consistency, and more.
Whether you prefer a face-balanced putter that offers a high degree of stability and forgiveness, or prefer a lightweight, traditional blade putter with a bit of toe hang, here are 5 putting drills that can potentially help you improve control and accuracy.
Why Putter Face Control Matters So Much
The primary objective of the putting drills that we will cover here will be to improve your control over the putter face, which is critical for more than one reason.
The primary reason is simple enough. A putter face that is not square at impact will send the ball off the intended target line. Whether the face is open or closed doesn’t really matter as much as the fact that you will miss.
Of course, it does help to understand why the face didn’t return to square, so we don’t mean to make light of that. It’s just that the most important idea here is that the face needs to square at impact.
Better face control also gives you better feedback over power. It’s hard to tell if your putting stroke had enough power when the face was not square to begin with. First fix the fundamentals and then you can fix other aspects of delivery.
So, with that being said, here are 5 putting drills that can help you improve putter face control and overall accuracy.
Let’s Talk Putting Drills
Try some of these putting drills the next time you have a few moments to spare.
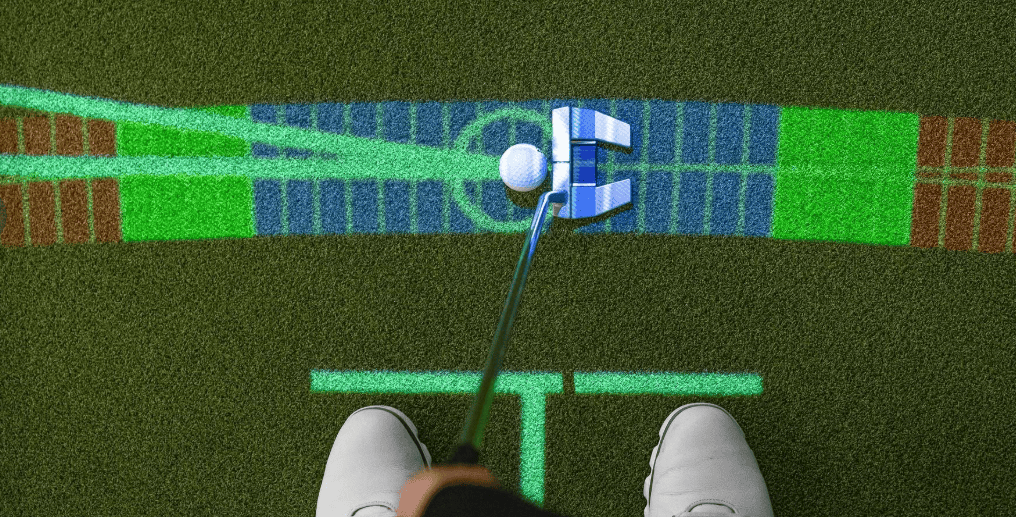
Gate drill. The gate drill is a tried and true putting drill and one of the best known of all. To do the gate drill, set up two tees, just wider than the width of the golf ball, between a foot and 18 inches away from it. Your job is to putt the ball consistently through this “gate” without touching either tee. Start with short putts between 4 and 6 feet away. You don’t want to be too far back to get the feedback that the gate drill offers. This drill provides immediate feedback; if you touch either tee “gate” or miss entirely you fail, and it shows that the ball was not aligned right from the start. It provides immediate feedback on whether you're starting the ball on your intended line. Drill this consistently to hone your accuracy and consistency, and if you want a bigger challenge with the gate drill, make the gate smaller and try again, or move back the putting distance slightly.
Chalk-line drill. Take a flat section of the green, or a putting mat, and draw a straight chalk line on it that’s roughly 5 feet long (though you can make it longer if you wish). Set up for a putt and aim to keep the ball on the entire length of the chalk line. Like the gate drill, the chalk line drill also provides immediate visual feedback. If the ball consistently starts off the chalk line, it may indicate an issue with face alignment or stroke path.
Trail hand only drill. Practicing putting with your trail hand only is also a great way to drill and one that can potentially improve control as well as focus on the stability of your trail hand. This drill is not about power, it will just show you how your trail hand reacts at impact. Using only your trail hand, practice putts at between 3 and 5 feet and see how your trail hand moves. Is your grip too tight? Is it overly active? Are your putts consistently pushing or pulling? All of these are things the trail hand only drill can help you identify and rectify.
Lead hand only drill. In the lead hand only drill, you putt using only your lead hand. Like the trail hand only drill, the lead hand only drill will help you identify where the putter face is directed at the moment of impact, but it can also help you focus on whether your putting stroke is quick or jerky, since it is the lead hand that typically smooths the putting stroke. Again, with this drill, don’t worry about power. You want to hone in on form, so you can focus on a smooth putting stroke and a square putter face. Power comes after.
Ladder drill (with putter face control). Lastly, we have the ladder drill, specifically with face control, which accounts for both accuracy and power. Set up an alignment stick about 3 feet behind the hole, then set up golf balls at 3, 6, 9, 12, and 15 feet from the hole. In this case, however, we will also set up a relatively narrow gate in front of the hole, to work on accuracy. The trick here is to hole the putt or stop the ball between the hole and the stick. Drill consistently till you can pass the gate and hole the putt or stop the putt before it hits the alignment stick behind it. However, realistically you’ll just be trying to hole the putt since it’s very hard to get the ball through the gate and miss the hole.
Shop Face-Balanced Putters, Putter Shafts and More
These drills should help you improve putter face control, which in turn will help accuracy. You should also consider the equipment you’re playing with, too. We carry both traditional blade putters that are optimal for players with a slight arc to their putting stroke as well as face-balanced putters that are forgiving and better for players with a straighter putting arc. Shop our collection and get in touch with us if you have any questions about the drills mentioned here or about the putters we carry.